DNS management tutorial
HNSDNS uses PowerDNS + PowerAdmin + MySQL replication for providing the nameservers for everyone and make them reliable for production use.
However, if you have never managed DNS records, or PowerAdmin is something new to you, here we will explain how you can use the HNSDNS dashboard like the best.
1. Home page
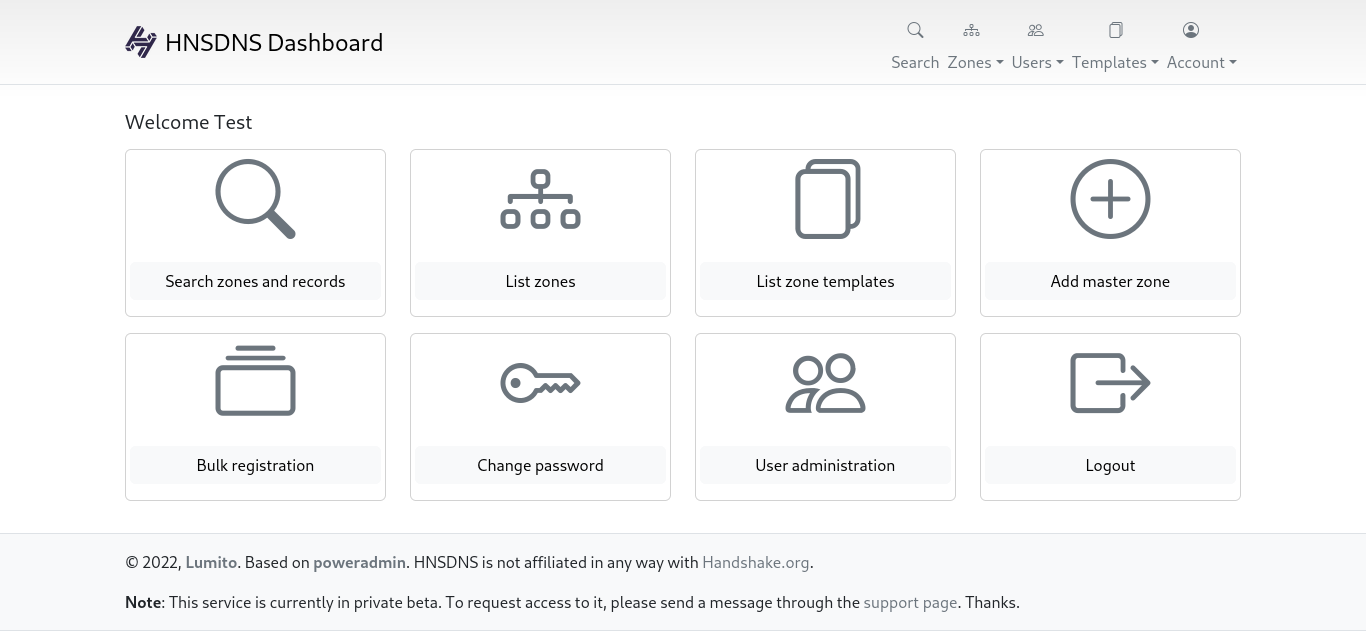
Here you'll find a quick access to everything HNSDNS offers. Let's explore those options one by one.
2. Adding domains
2.1. Adding a master zone
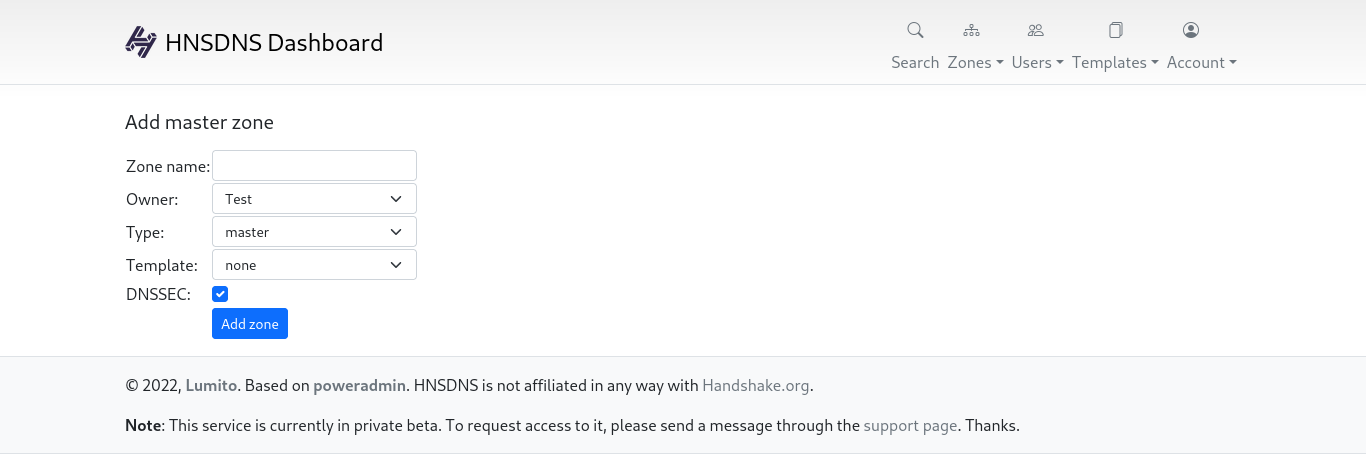
Here you can add a single domain you own to HNSDNS. You should just introduce your domain name as the zone name, master as the type, and a domain template if you have one. Finally, if the registrar (for some reason) doesn't support DNSSEC, you can disable the option here too.
2.2. Bulk registration
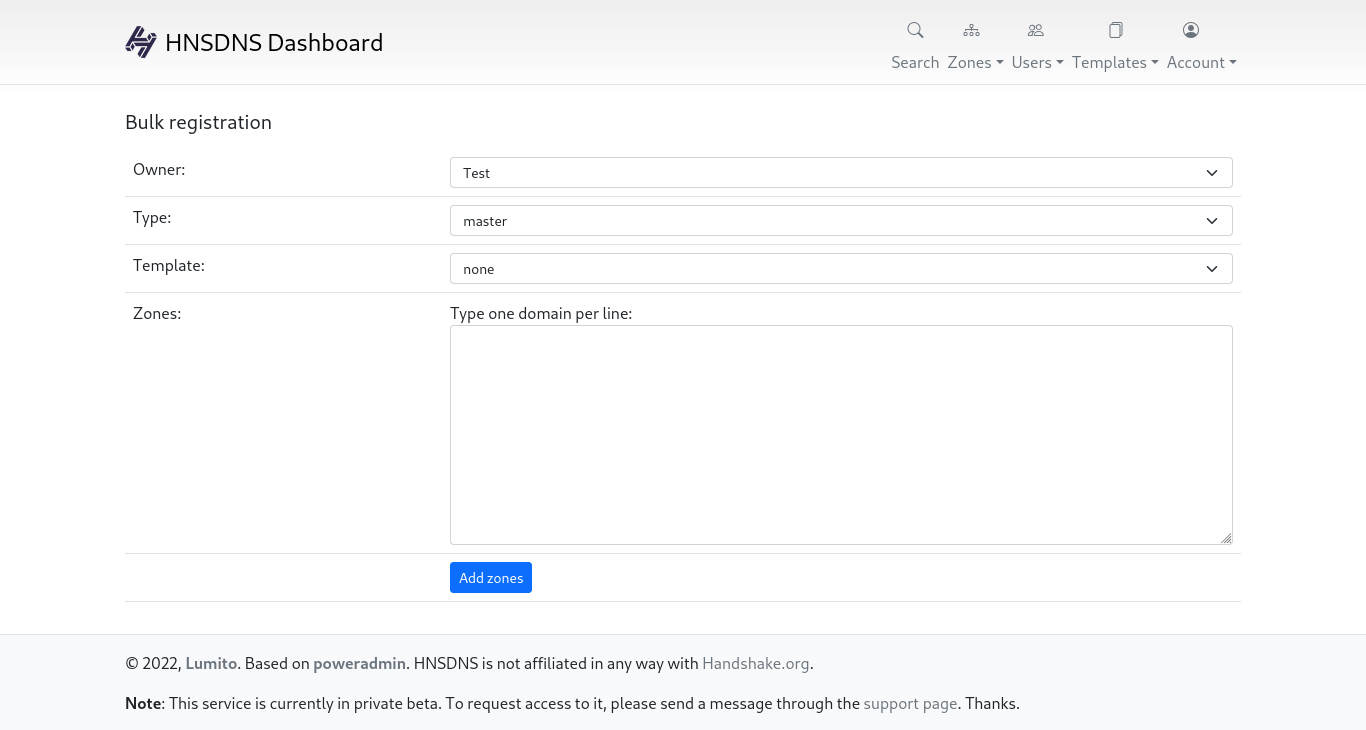
If you have a bunch of domains that you want to add to HNSDNS, you're welcome to do so with bulk registration. You can add all of them at the same time, and choose a common template for them. Be aware that you will need to manually enable DNSSEC for each one of the added domains.
3. Listing zones
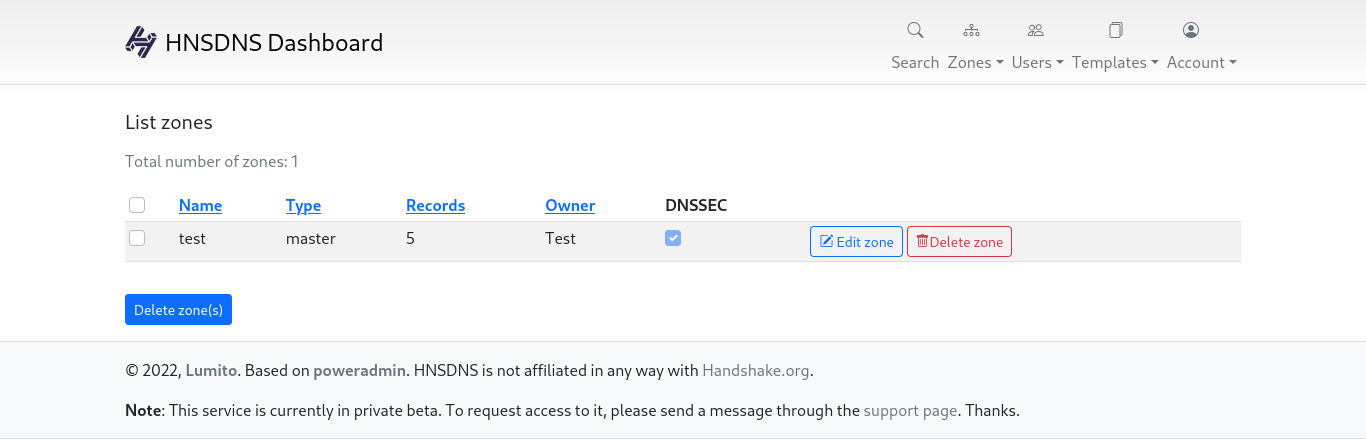
In the Listing Zones menu, you can see all the zones that you have added to HNSDNS. Also, you can select there which zone you want to edit, see if they have DNSSEC enabled, and even delete unused or legacy zones.
4. Editing zones
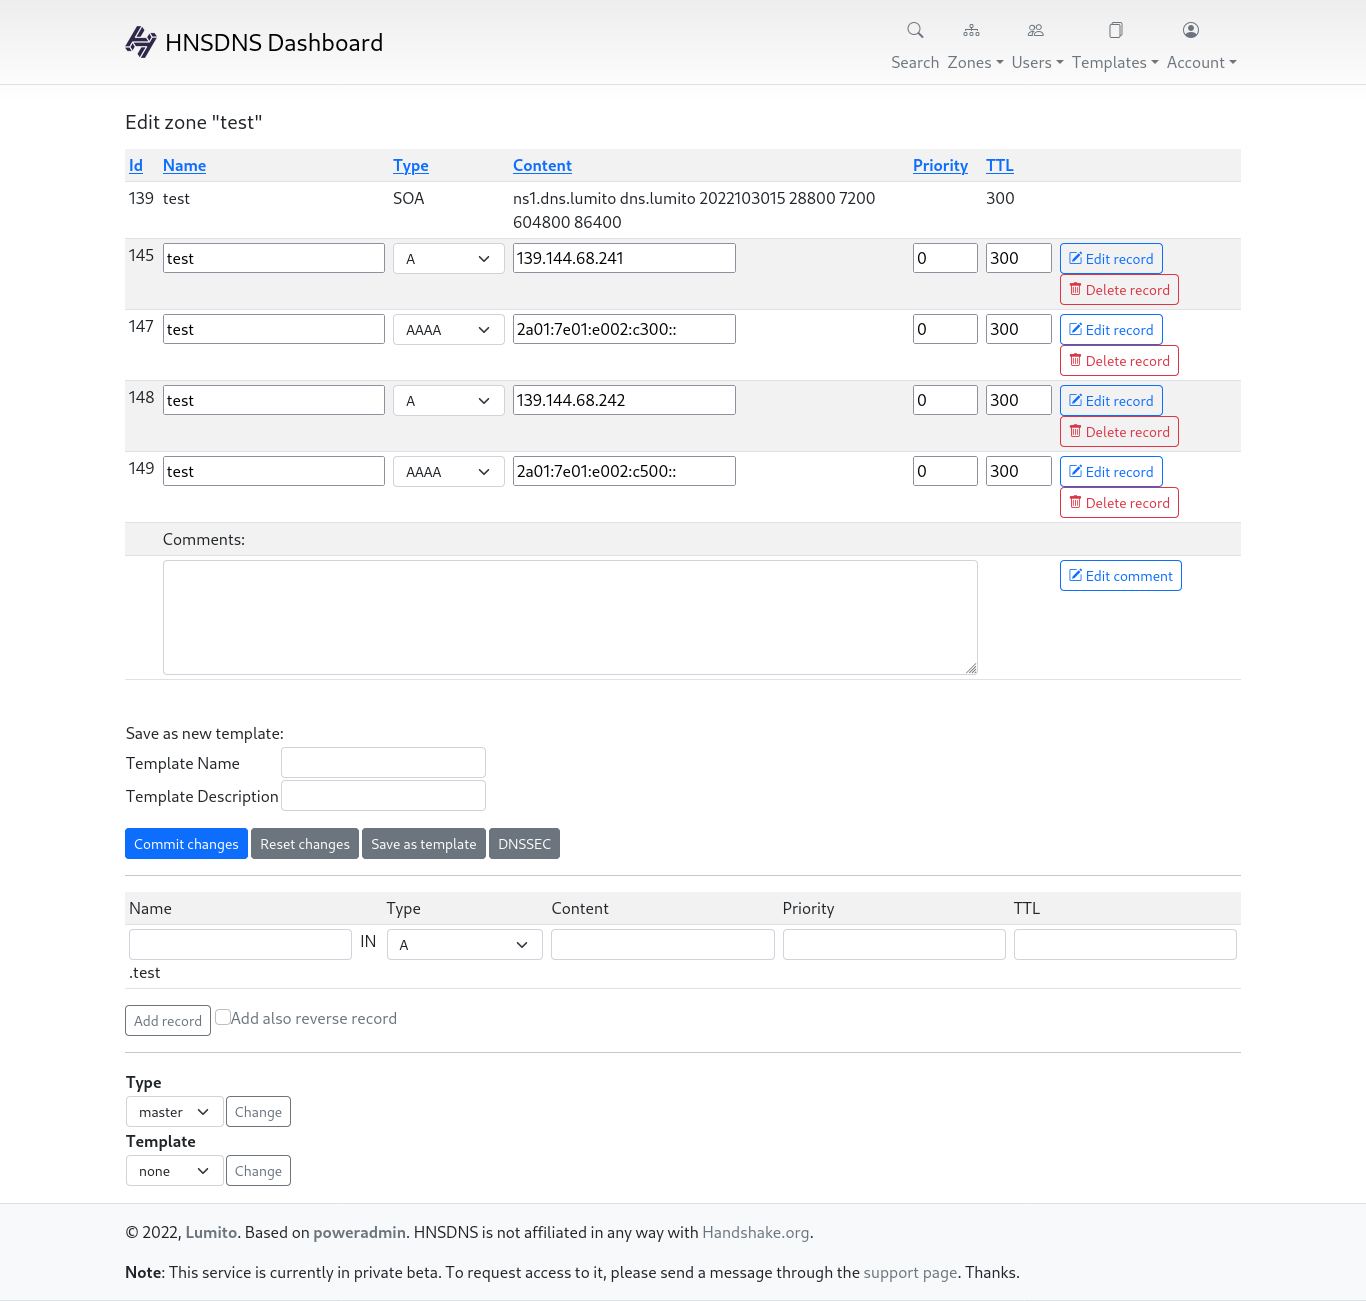
As you would expect from a DNS hosting service, you can perfectly add/edit/delete DNS records for the zones that you've added. Unlike most DNS providers, HNSDNS supports basically every DNS record available, including deprecated ones (like A6). HNSDNS also supports ALIAS records.
In addition, you can add comments to the zone, to make it easier for you to manage the zone.
Here, you can also export a zone to a template (explained below), and import a template to the zone.
The best way to learn to use this page is to start experimenting with it. It isn't hard once you know which DNS record you need to use for each case.
4.1 DNSSEC configuration
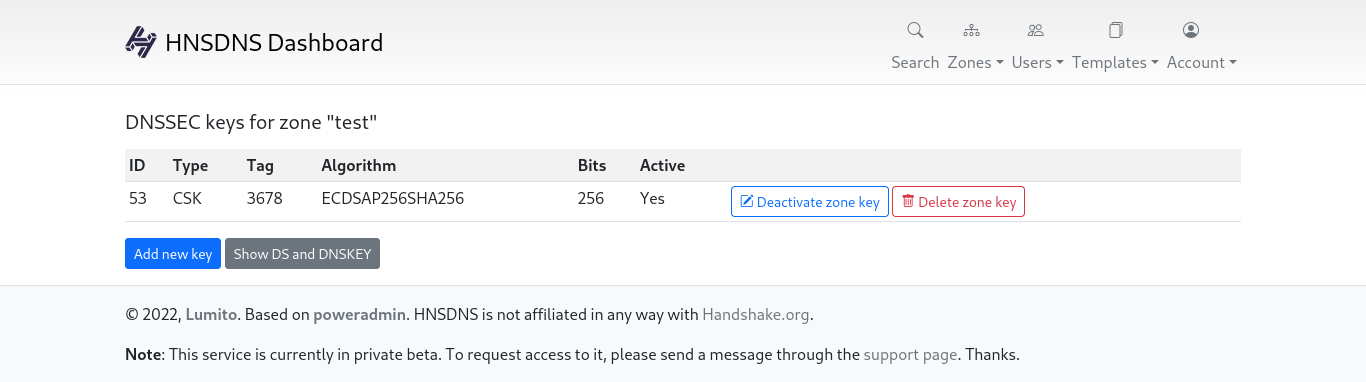
As mentioned before, HNSDNS has full DNSSEC support. This is especially useful for Handshake, since it replaces traditional Certification Authorities (CAs) with DNSSEC + DANE.
In this screen, you'll be able to activate/deactivate/delete signing keys. You'll also find buttons for creating new keys, and to obtain the required DS records. Both of them are explained below.
4.1.1 Adding new DNSSEC keys
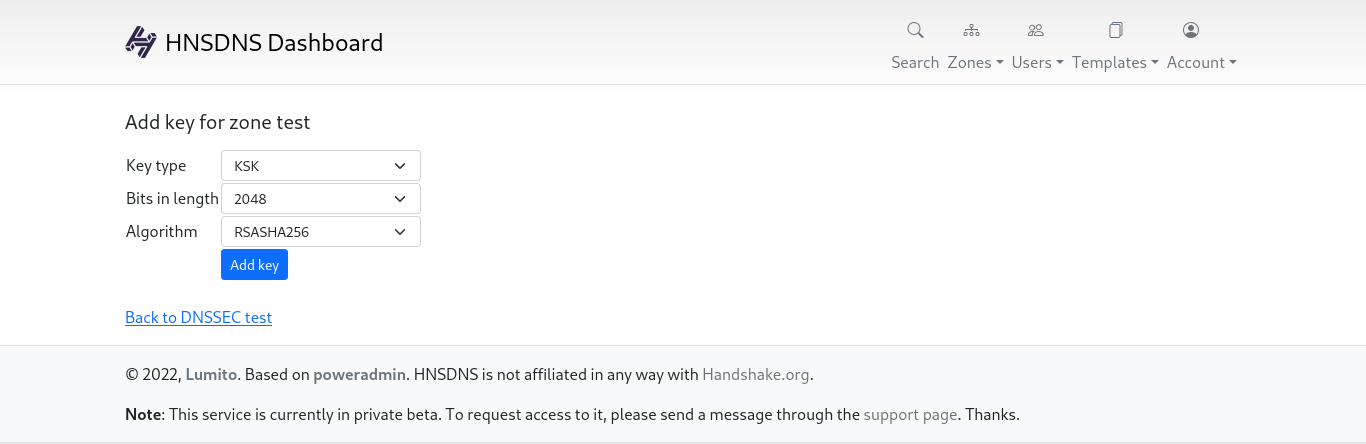
Unlike most DNS providers, HNSDNS lets you generate additional DNSSEC keys without any additional cost. It also allows you to customize the generated key (it is possible to select the key algorithm and size).
You can also have two or more keys active at the same time.
4.1.2 DS and DNSKEY records
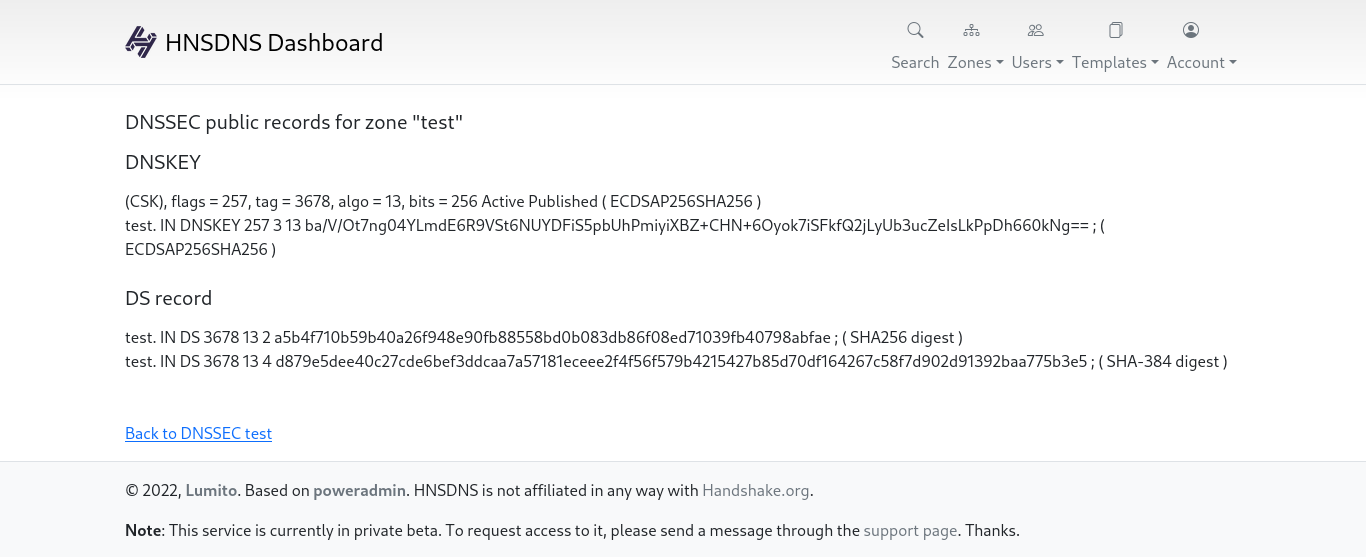
As expected, HNSDNS shows the DS and DNSKEY records, so that you can set them up on your registrar or blockchain.
In most cases (including Handshake), you'll just need the following records:

Each one of the underlined lines show four numbers (the last one is in Base16 or hex):
- The first one is the key tag.
- The second one is the algorithm.
- The third one is the digest type.
- The fourth one is the digest.
If you are using either Namebase or Bob wallet, you'll need to copy the full underlined line in a DS record. In this case, you'll need to create two DS records.
5. Templates
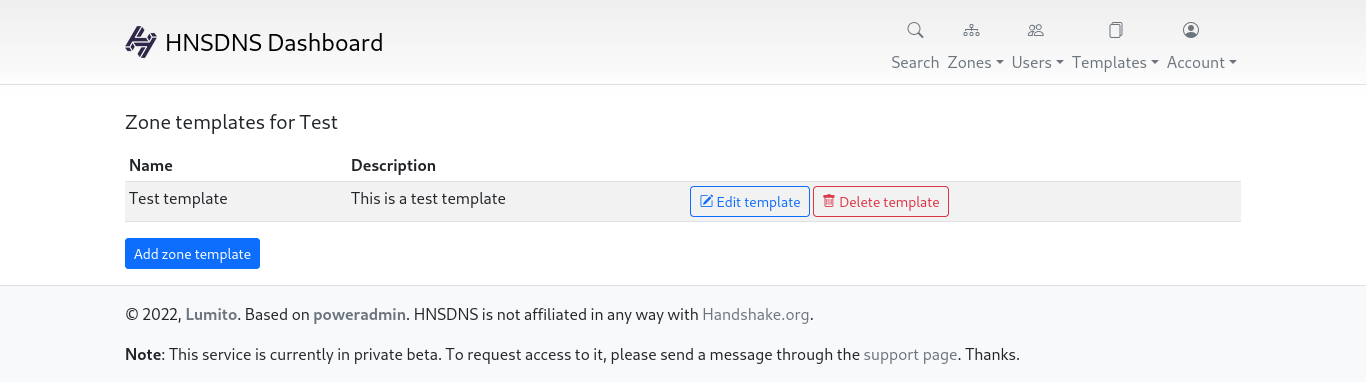
HNSDNS allows the creation and management of templates. Templates are, as the name suggests, a template with preconfigured DNS records that you may want to use in different zones.
For example, imagine that you want to add one hundred domains to HNSDNS. All of them will be using a fixed set of DNS records (for example, an A and AAAA record for the TLD, and a TXT one featuring your wallet address for donations). Instead of needing to create those records one hundred times, you create them once, export them to a template, and you later create the rest of the zones based on that template.
There are a lot of options available through templates that are worth exploring.
6. Other menus
There are three other sections that, even though are less important than the rest, are useful for some cases. Here, we're going to briefly explain each one of them:
6.1. Search zones and records
Here, you'll be able to search both domain zones and specific records. This is extremely useful if you have lots of domains managed with HNSDNS, and you are searching for one specific record.
6.2. Change password
In this section, you'll be able to change your user's password. During the private beta, you'll need to do this before anything else, because we will assign a password that, for security measures, you should change.
6.3. User administration
Finally, you are able to view and edit your user details (email, name, username, etc.) in this section. For obvious security reasons, you won't be able to see any information from other users.
IMPORTANT: We currently don't offer an option to delete your account. However, you may contact us and we'll do it for you in just a few days (or even hours) without any problem.
And now, you are ready to explore and play with the dashboard. Be aware that currently it may have some bugs and errors. Please report them by sending an email through the support section. Thanks!